Many things have been considered for use as planets. My first attempt will be to make them on the lathe and potentially paint or color the resulting metal spheres with a patina. The table below shows details of the planets and the sun.
| Celestial Body | Relative Size | Planned Size | Material | Screw Size | Screw Depth |
|---|---|---|---|---|---|
| Earth | 1 | 0.500 | Brass | 4-40 | 0.25 |
| Venus | 0.95 | 0.475 | Steel | 4-40 | 0.25 |
| Mars | 0.53 | 0.252 | Bronze | 0-80 | 0.06 |
| Mercury | 0.38 | 0.190 | Aluminum | 0-80 | 0.06 |
| Moon | 0.27 | 0.135 | Steel | 0-80 | 0.06 |
| Sun | 2* | 1.0 | Brass | 4-40 | 0.25 |
The plan is to drill and tap a hole on the end of a piece of stock, cut a hemisphere, part off at twice the radius, mount on a threaded rod, and cut the rest of the sphere. The threaded rod was made first from a 2" length of 1/4" drill rod. One end was faced and reduced to 0.112" for a length of 0.25". A die was used to thread this short length 4-40. The other end of the rod was treated similarly producing 0.06" of 0-80 threads.
A 1 1/2" length of 1/2" brass rod was faced, center drilled, drilled with a #43 drill, and tapped 4-40. The Sherline radius tool was mounted on the cross slide and set up for cutting the first radius. The third holes from the ends were used to mount the movable cutter. The stop was set to minimize cutting beyond halfway. The tool set to center height and aligned with the center pip on the faced end. The tool was adjusted to a few thousandths above the top of the chucked rod. Cuts were made while moving the cross slide toward the chuck in 0.020" - 0.005" increments. When close to complete the tool was lowered to just touch the top of the rod and the last few cuts were taken to produce the first hemisphere.
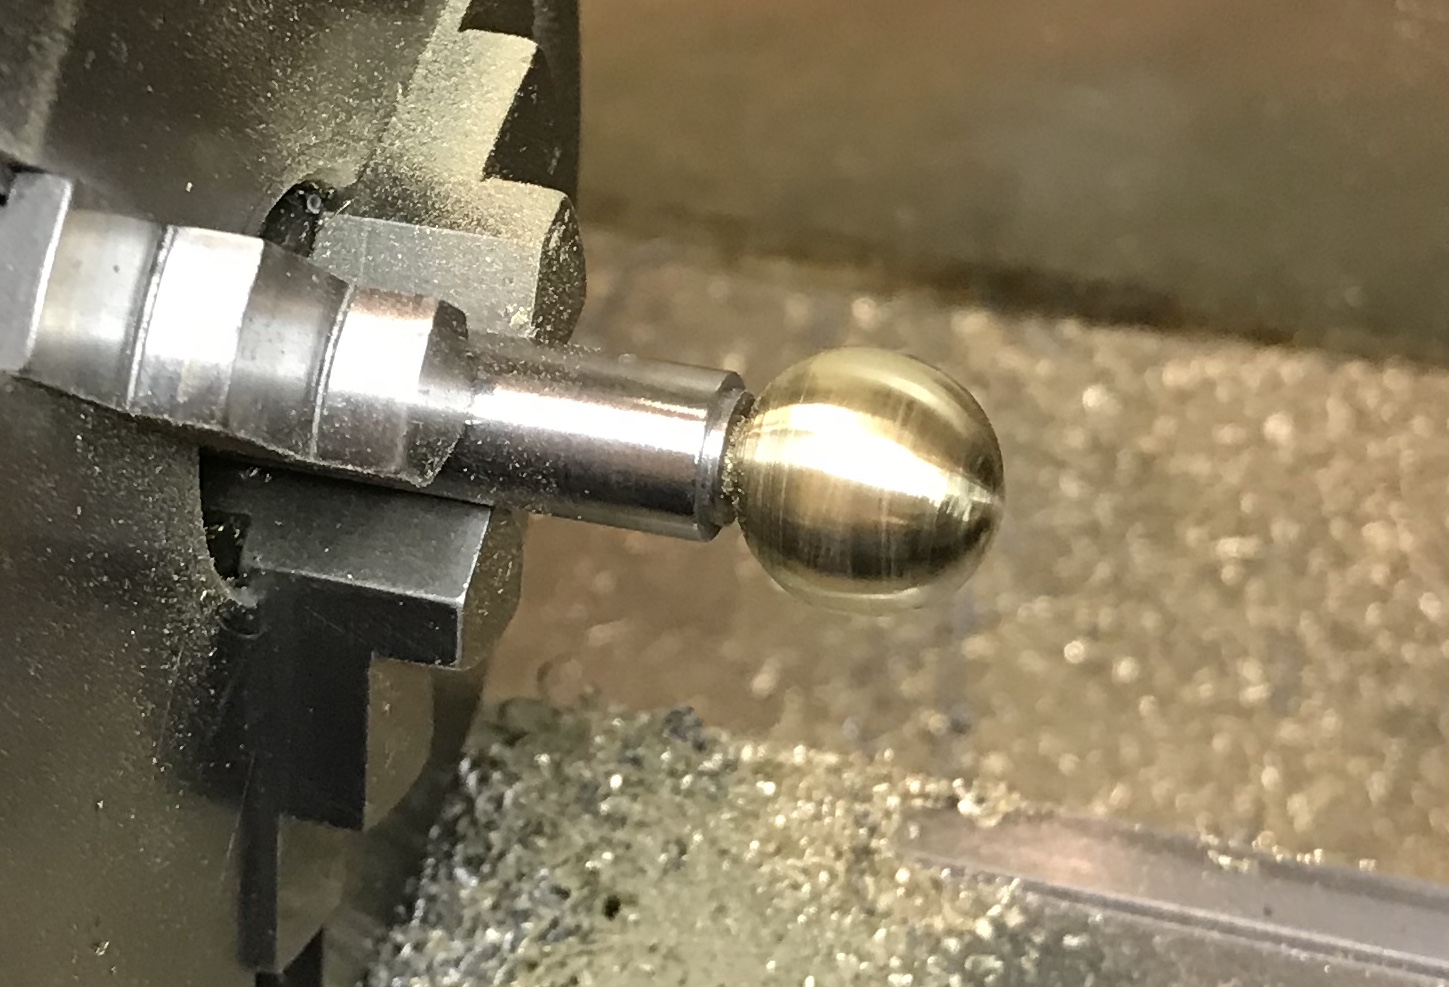
The hemisphere was parted off at a little over 0.5". The round topped cylinder was mounted on the rod made above and held in the three jaw chuck. Cutting the second hemisphere was initiated with the radius tool setup the same as the previous cut. There was some wobble to the part mounted on the rod. This led to a marred sphere when cutting was complete. The ball was sanded to 1500 grit. A picture is shown below. The "sphere" is 0.480-0.495" in diameter. Too bad the bulge is on the poles and not the equator like the Earth's.
Clearly, some further work is needed before making more planets. Getting rid of the wobble when mounted on the threaded rod will minimize the sanding required and keep the dimensions closer to desired. As noted afterward the hole in the sphere was filled with a lot of chips.
The process was repeated on the remaining 1 1/4" of brass. [Careful to leave enough exposed so ball turning tool does not hit chuck!] The faced end was center drilled, drilled with a #43 drill, and tapped 4-40 to 5/16". The first half of the ball was formed followed by parting off at 0.525". Putting the ball on the threaded end of the rod still gave significant wobble even though the ball was free of chips. A little pushing on the ball finally got it relatively close to wobble free. At the end of the cut a few millimeters of mismatch was seen where the two ball halfs joined. This was cleaned up with sanding. This ball is better, but still not spherical ranging from 0.500 to 0.493".
Maybe the end of the rod up to the screw needs to be refaced each time the rod is put back in the chuck. Or possibly faced and then used in a collet.
A 1.5" length of 1" brass round was cut off with a hacksaw. One end was faced and drilled with a #43 drill to about 0.30". It was tapped 4-40. The radius tool was used to put a 0.50" radius on the end. The end with the radius was parted off at 1". A small mandrel was made from a 1" length of 1/4" drill rod. Both ends were faced and the part was placed in a 0.250" collet. One end was reduced to 0.112" for a length of 0.25". It was then threaded with a 4-40 die. The radiused end was screwed onto the mandrel and a radius was cut in the opposite end. Cutting proceeded in increments of 0.010" and these were further reduced to 0.005". About 3/4 of the way through the mandrel screw broke off in the ball!!
Will probably need to make a mandrel that uses epoxy to hold the half finished ball on the next try. A screw this small just can't hold the part sufficiently tight. A larger screw can't be used as the screw on the central orrery shaft is also 4-40.
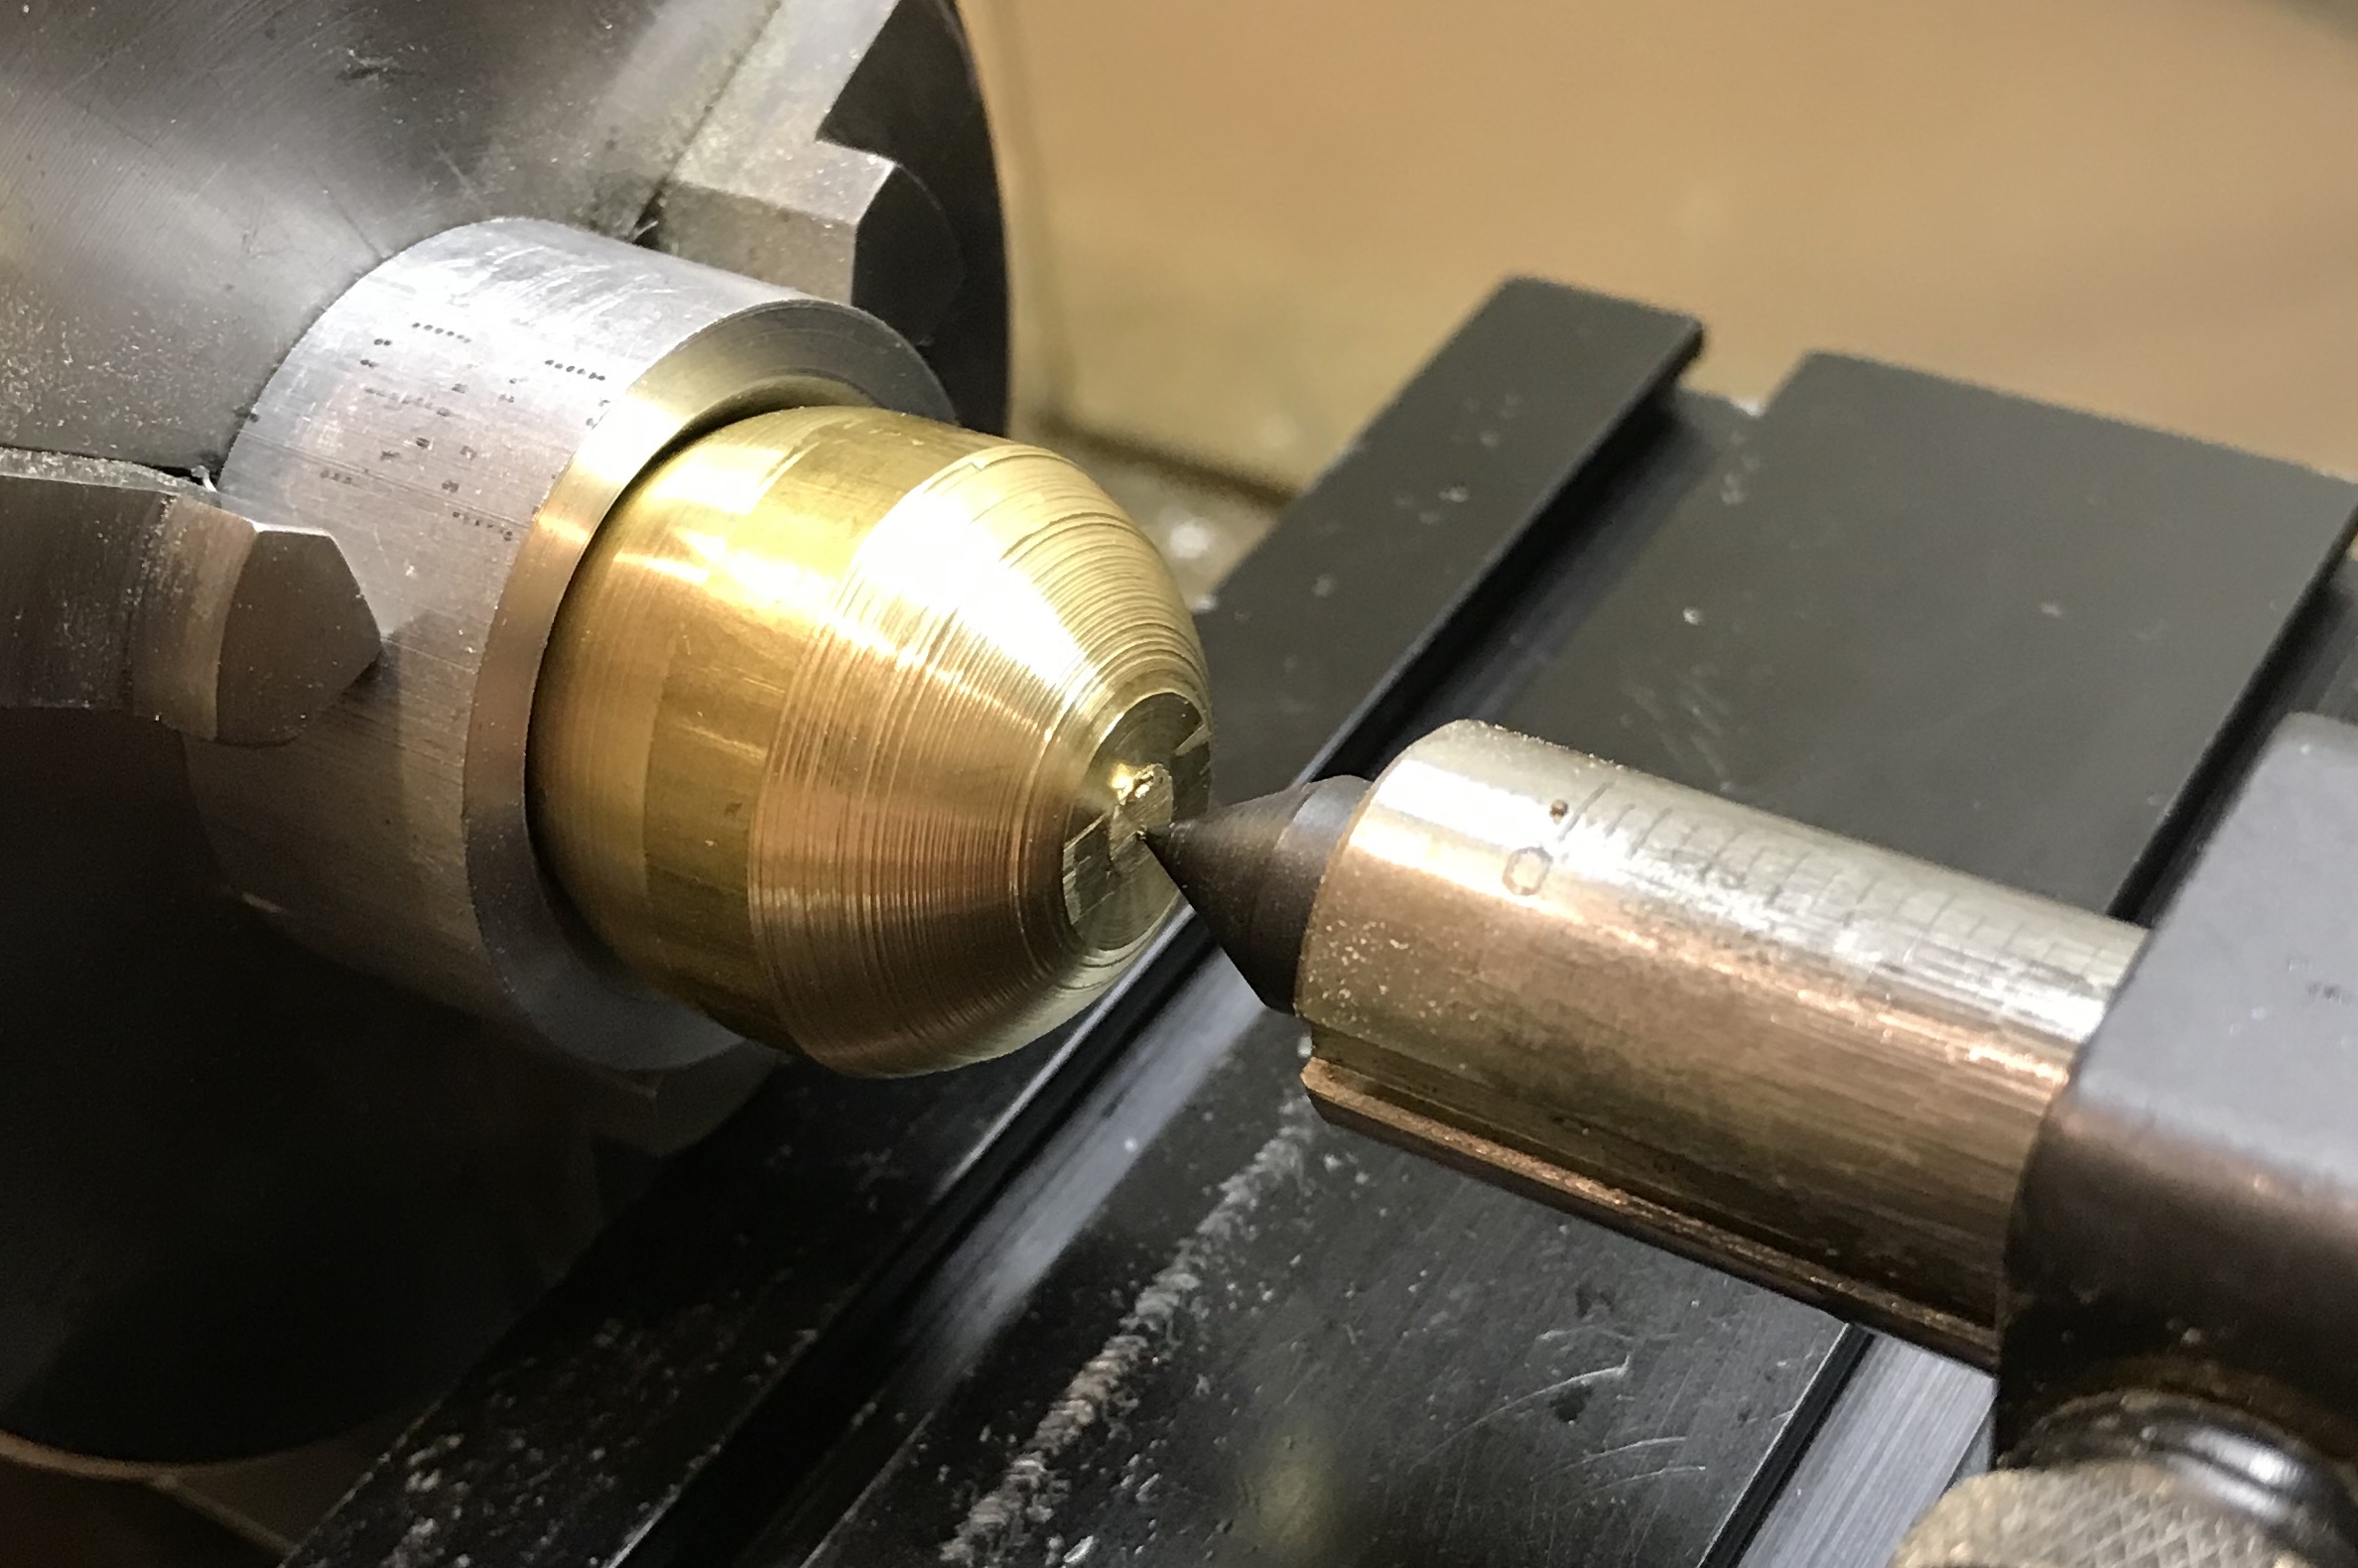
A 3/4" length of scrap aluminum round (1.5") was chucked in the 3-jaw chuck and the hole was opened to 31/64". The bevel was cut at 45° with the Sherline boring tool. The angled cut was continued until the half-sphere produced above fit about 1/8" into the cone shaped opening. The lathe was turned on very low while a thin layer of loctite was added. The semi-sphere was held in place while the chuck was rotating and a center was brought up to the free end to get it somewhat aligned. The glue was left to dry for 30 minutes, though it seemed to harden almost immediately. The picture below shows the part glued into the mandrel.
The mandrel with glue worked very well. I was able to finish the cutting and bring the equator almost to even. The exposed half of the ball was sanded to 1200 grit and has a nice finish. The ball was knocked loose with a few taps of the brass hammer and a small block of wood. Drilling out and plugging the screw is a possibility, but not really feasible. So the method has been demonstrated and now it needs to be implemented on a new ball.
A 1 1/8" length of 1" round brass stock was cut off with a hacksaw. One end was faced followed by the other end. The radius tool was used to cut the hemisphere, though it did not seem to go the full 1/2" so some sanding was used to fine tune the eventual join. The hemisphere was sanded to 1500 grit. The hemisphere holding jig was sanded out to remove traces of glue. It was clamped in the chuck and glue was applied. The hemisphere was placed in the jig and the workpiece was aligned with the use of a tailstock center pressing into the center of the flat side. It was left to dry for 30 minutes.
The second hemisphere was cut similar to the first. Before removing the sphere it was drilled with a #43 drill and tapped 4-40. The second hemisphere was also sanded to 1500 grit. It was then removed with a few blows of a brass hammer via a wooden block. The sphere is 1.007" pole to pole and 0.995" on the equator.
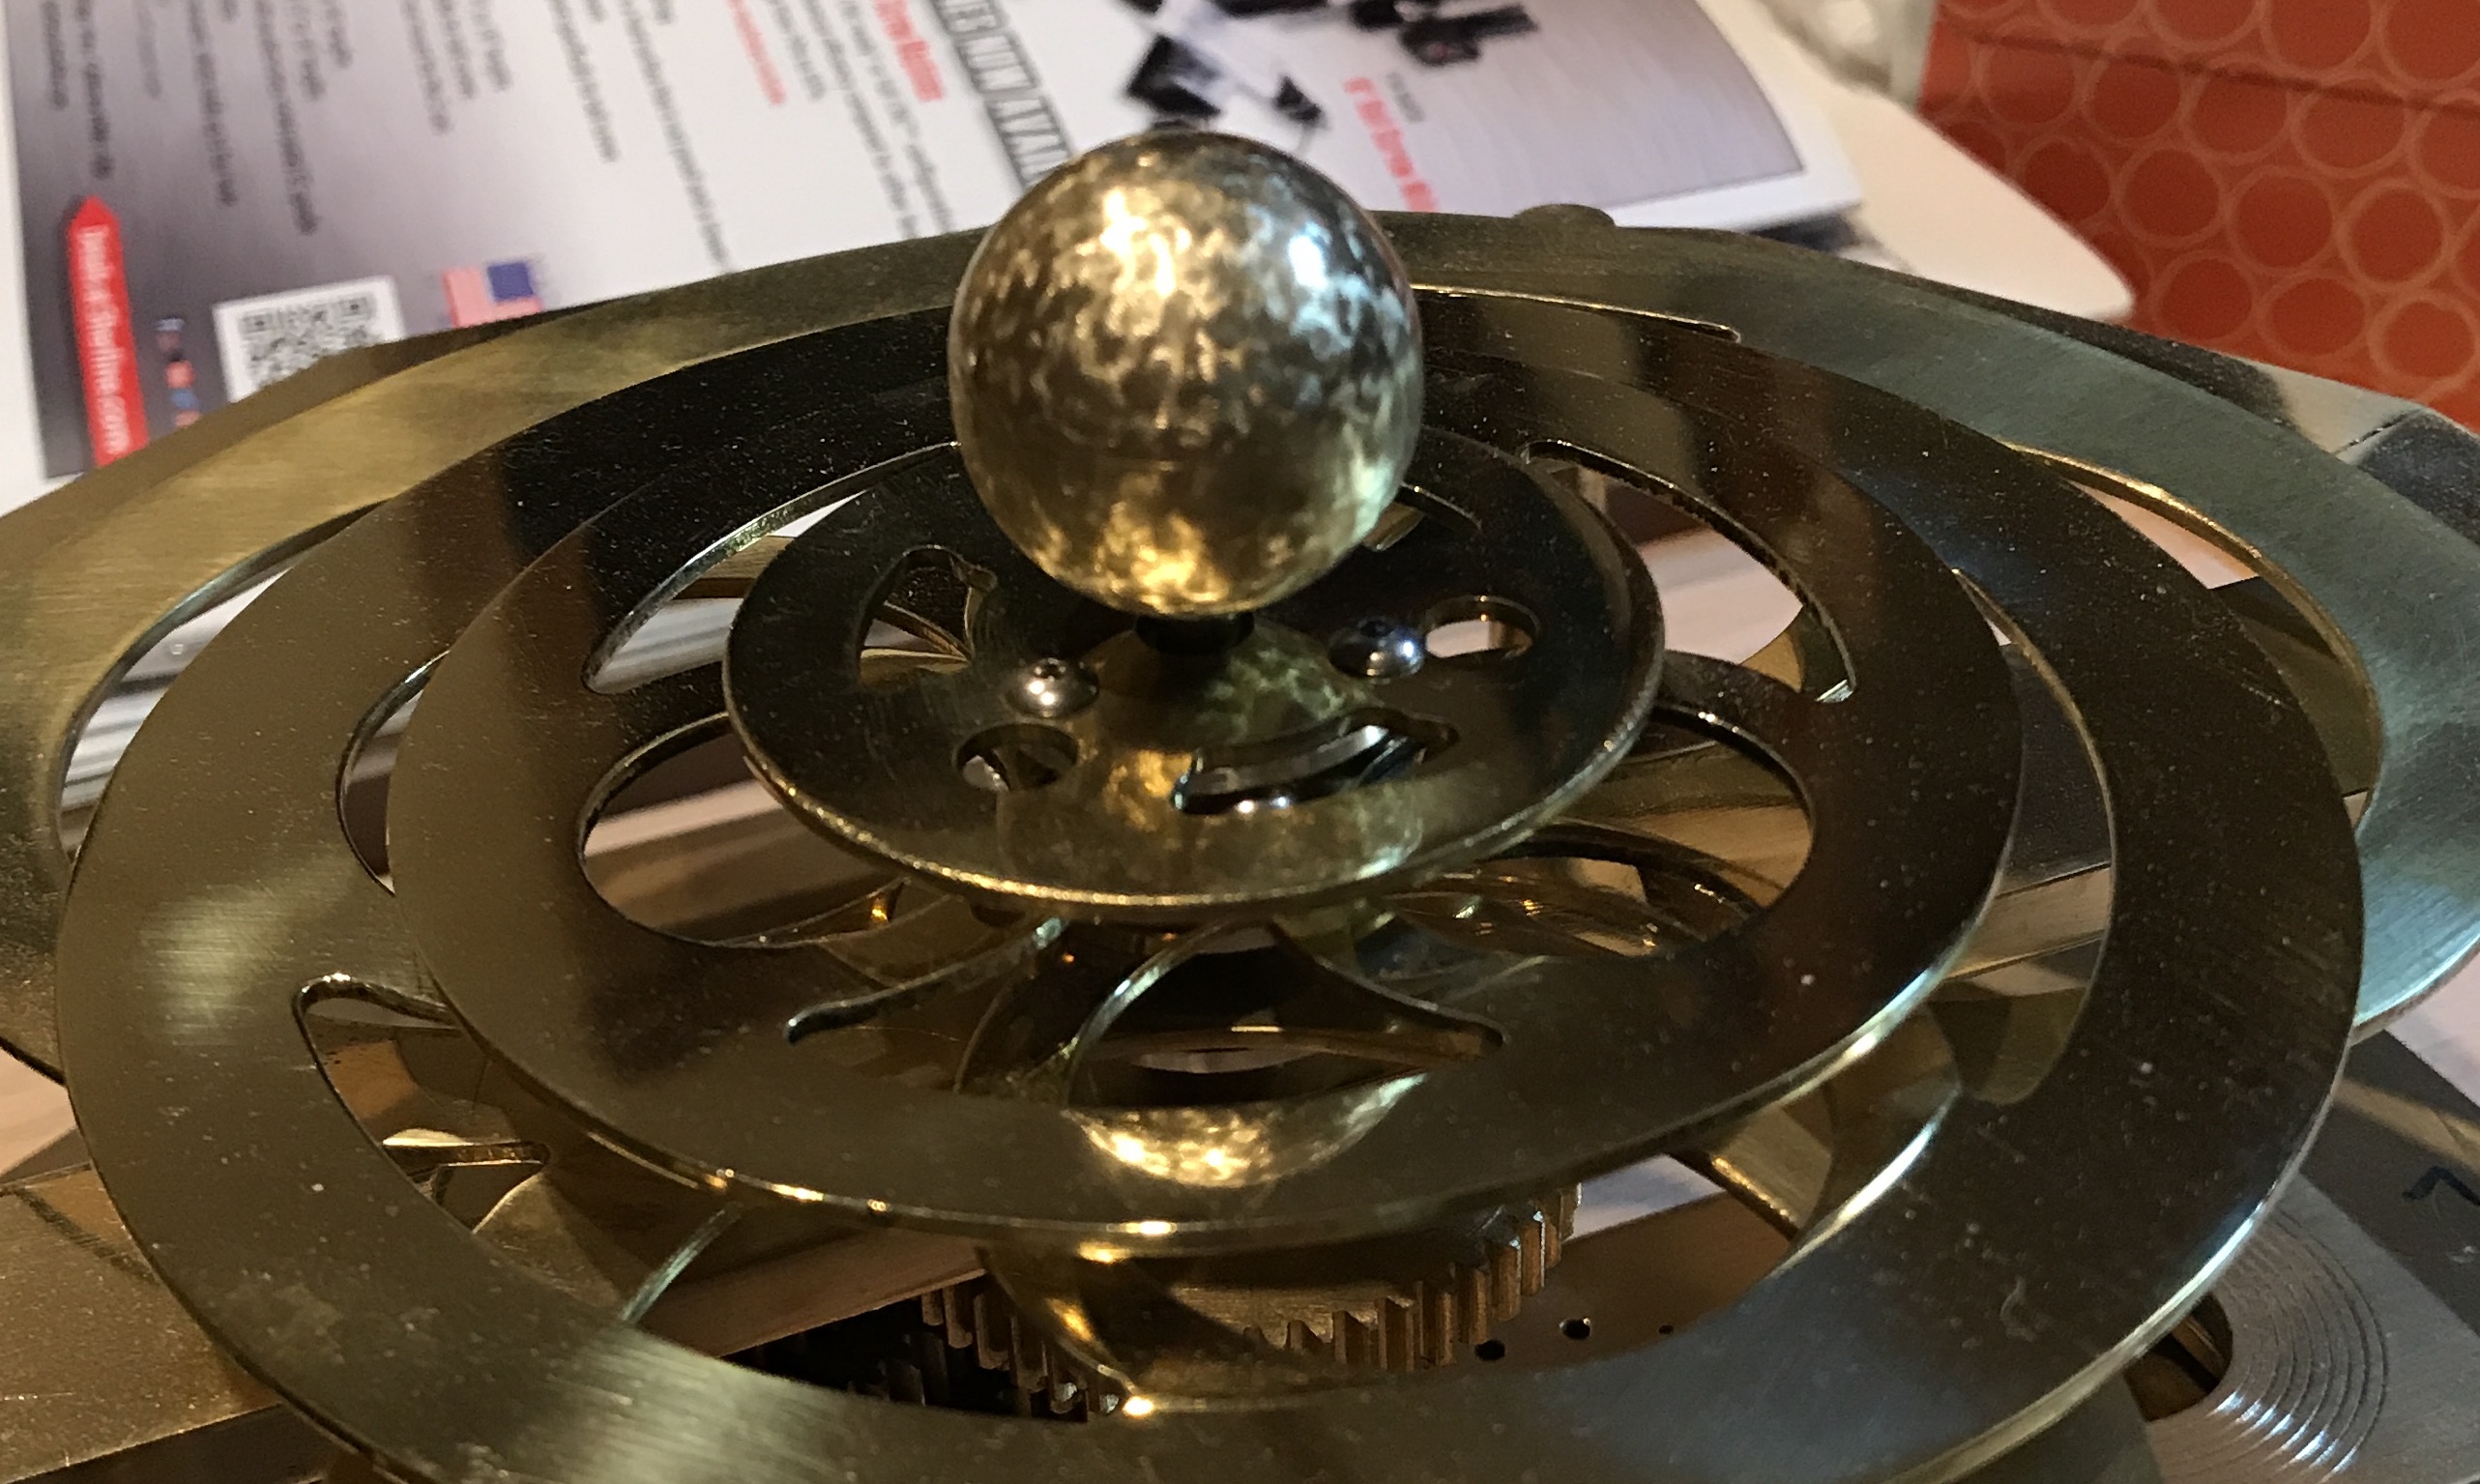
The sun sphere had a small pip on the end opposite that drilled. This was removed with a file, requiring more sanding. The end that was filed was sanded to 600 grit, and I liked the small swirls that were created when holding the ball and sanding in circles as the ball is slightly rotated. The same 600 grit sanding swirls were repeated over the whole sphere producing a "swirling solar atmosphere". This can be seen in the picture below.
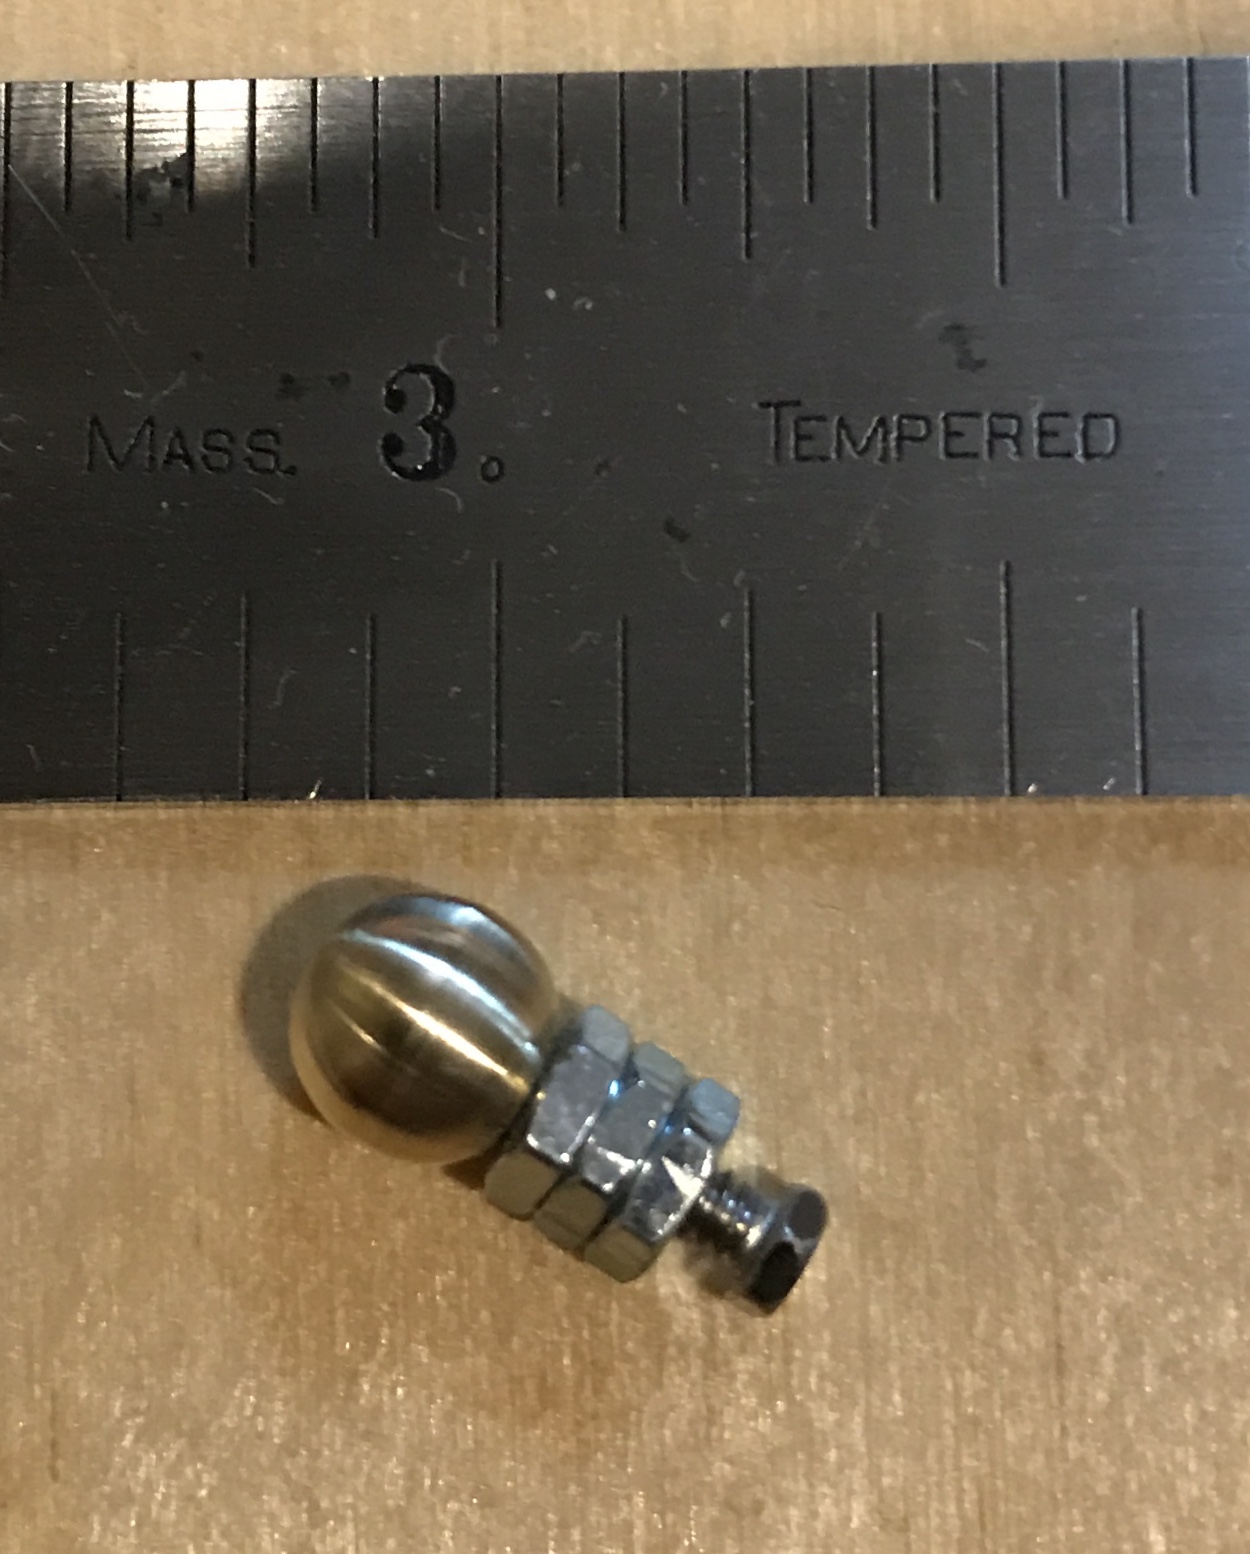
Mars was made from bronze. A 1" length of 1/2" bronze rod was held in the chuck and about 3/8" was reduced to 0.260". A hemisphere was cut on the end of this rod. The hemisphere was sanded to 1500 grit. The piece was parted off 0.260" from the hemispherical end. A scrap piece of 1/2" bronze rod was center drilled and drilled through with a 0.149" drill. A chamfer drill (90°) was used to put a pocket in this piece of scrap. A drop of loctite was placed on the wall of this pocket and the hemispherical end of the work piece was placed in this pocket. After about 30 minutes the glue had set and the second hemisphere was cut. The ball was then centered drilled, drilled #50, and tapped 2-56. I did not have the proper drill for 0-80. The ball was tapped out of the mandrel, placed on a screw and sanded to 1500 grit. The picture below shows the ball still mounted on the screw.
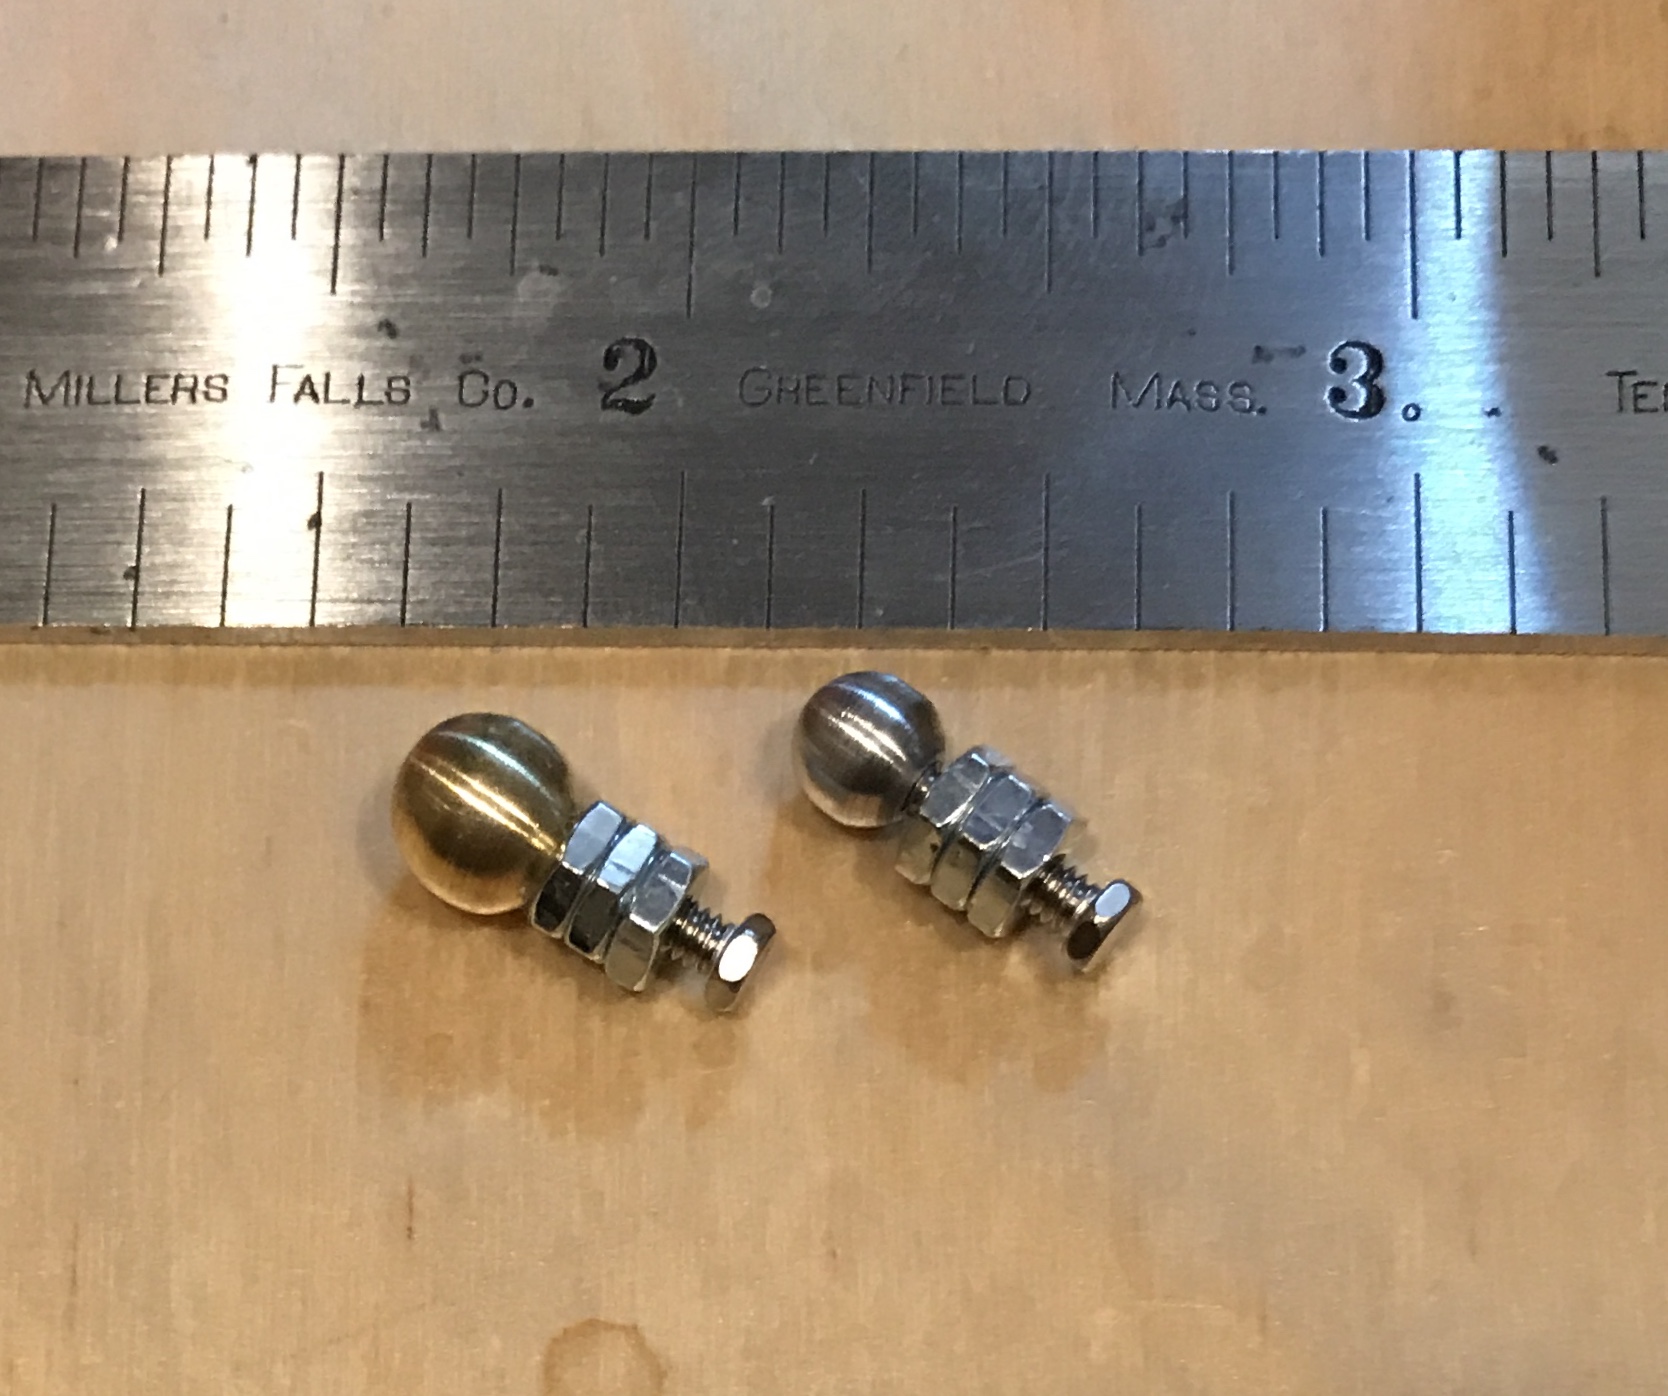
The same process was used to create an aluminum sphere with a radius of 0.19". A picture of Mars alongside the smaller Mercury is shown below.
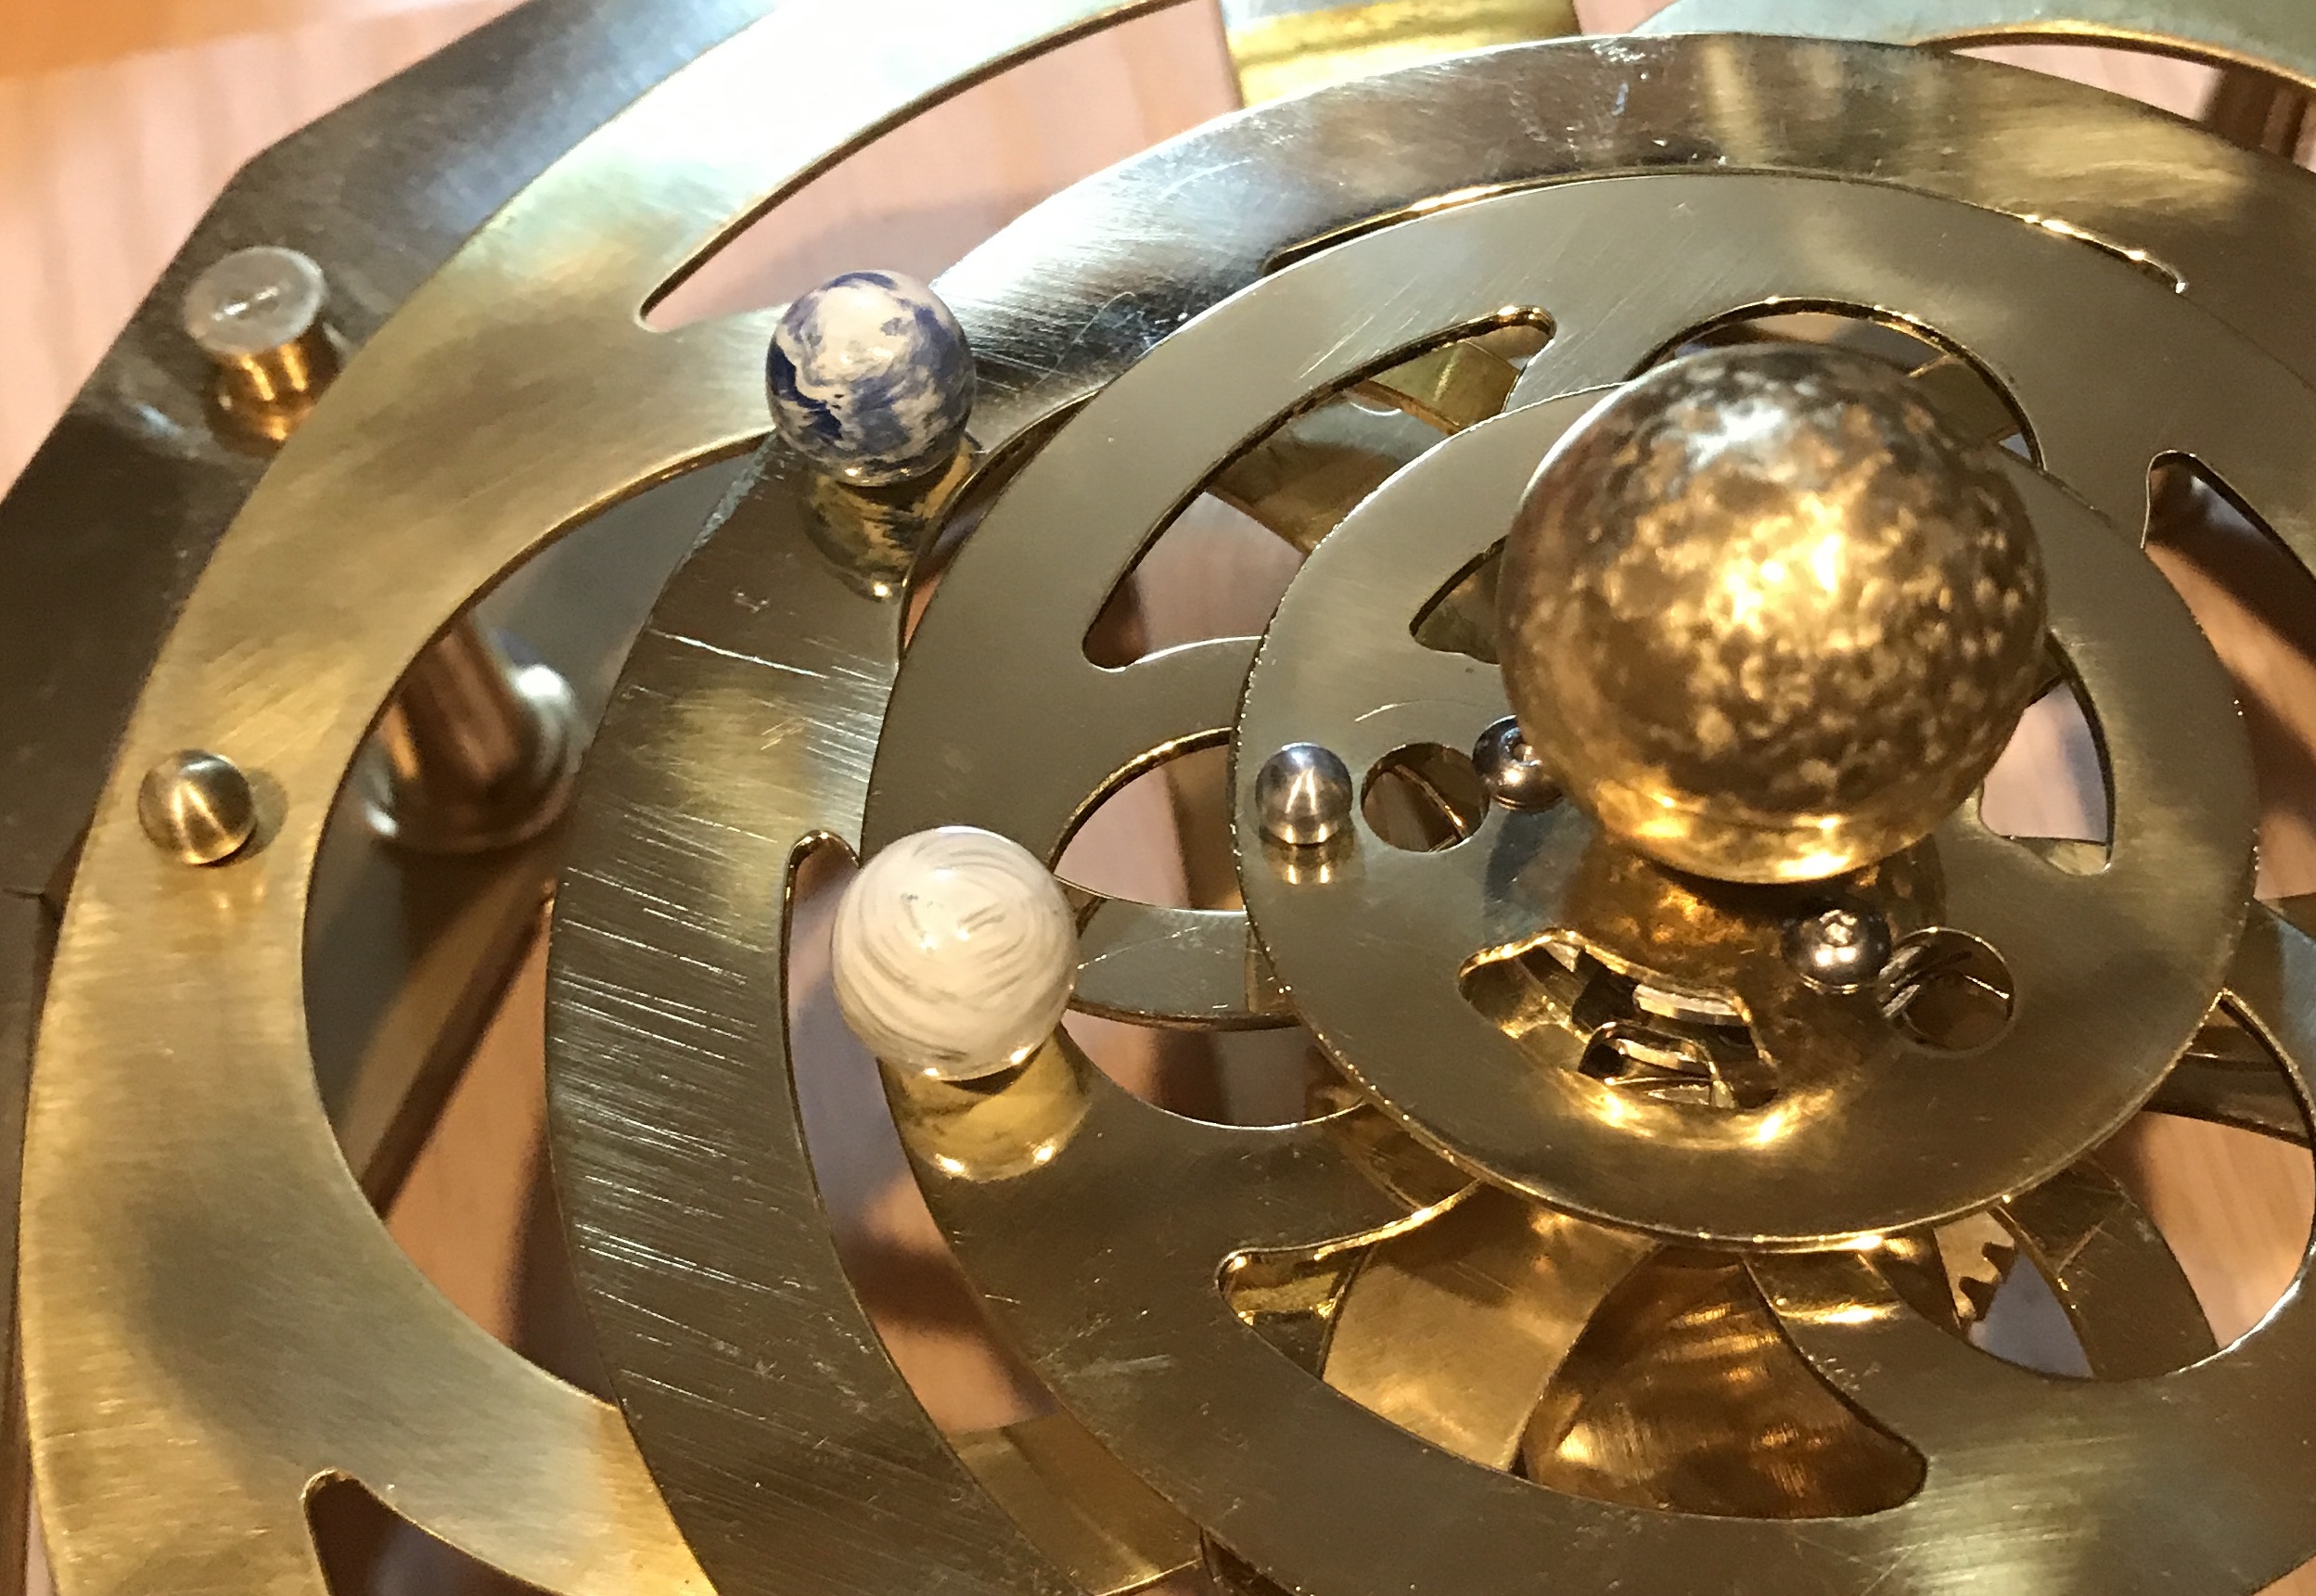
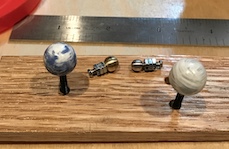
The two approximately 1/2" balls for the Earth and Venus were painted. Acrylic paint from the art store was used. The slightly smaller ball was painted white. The larger was first painted blue and then white paint was lightly layered on top. After drying the balls were sprayed (3X) with clear coat. All four planets are in the photo below. I am undecided whether or not to paint Mars a reddish brown.
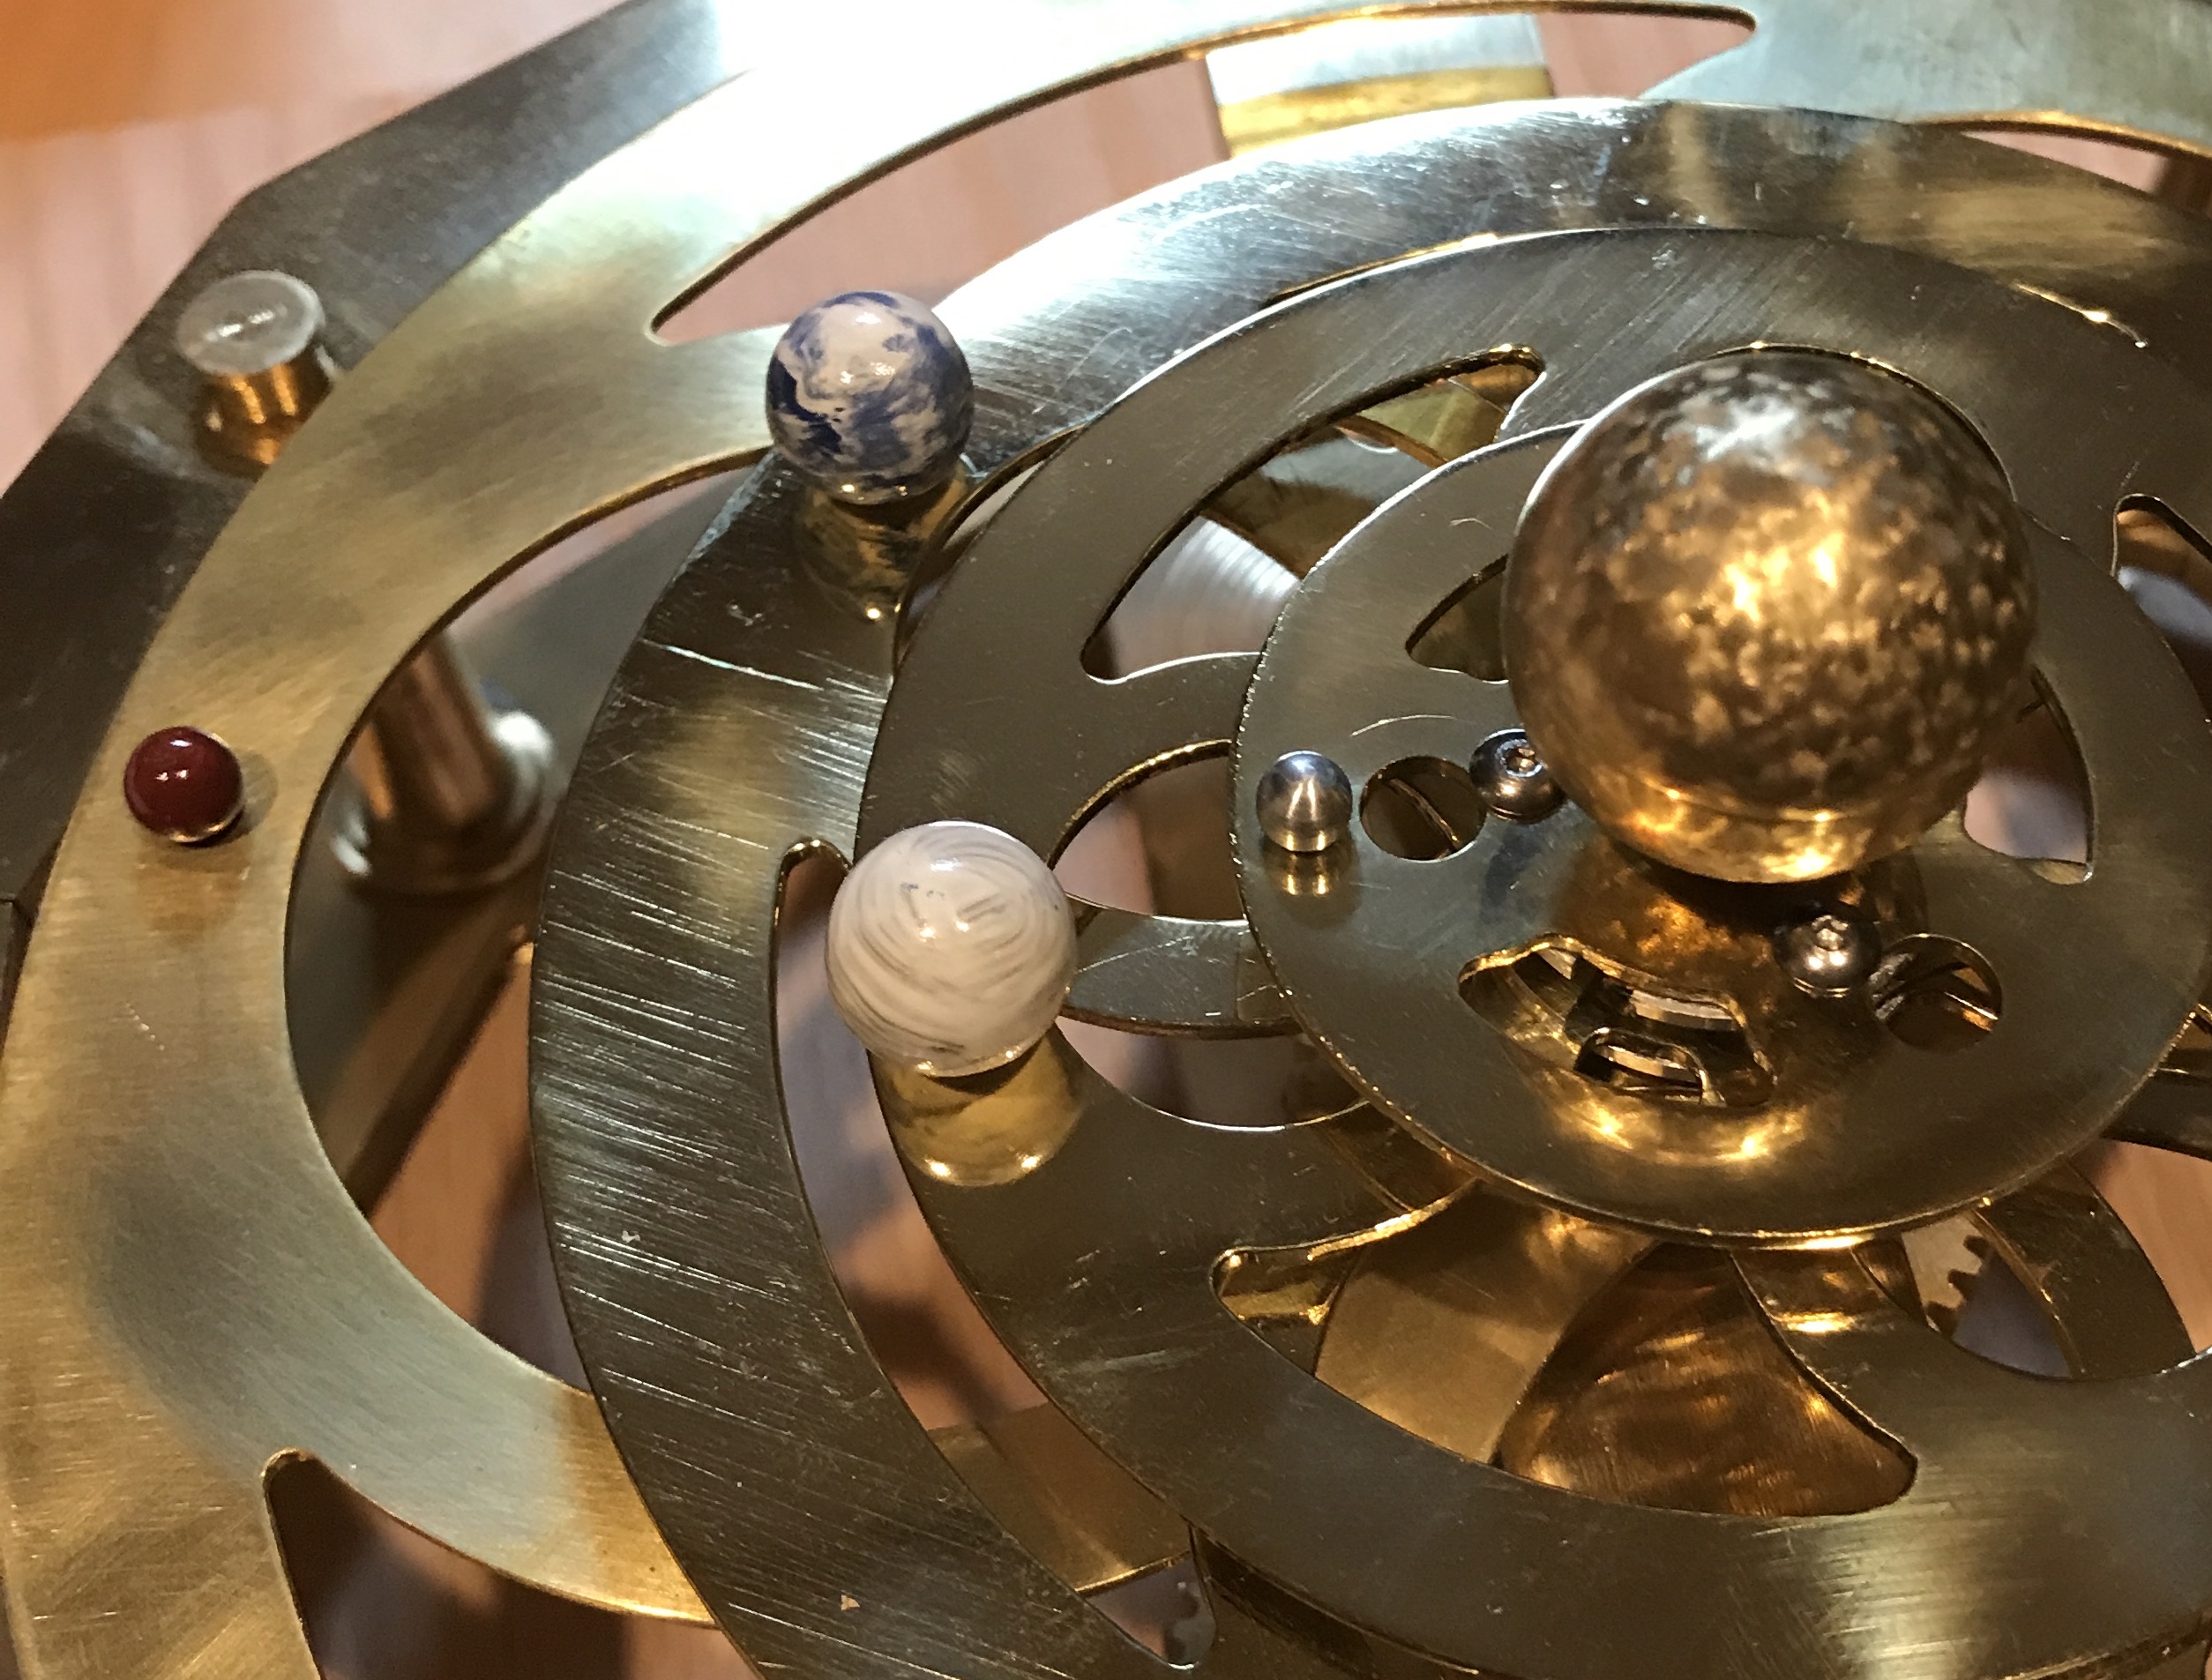
The planets were attached to the rings next. Through holes (#37 drill for Mercury and Mars and a 9/64" drill for Earth and Venus) were drilled in the four rings. Each hole was centered on the ring at the "top" of a circle. Screws (2-56 & 4-40) were shortened to about 3/16" and used to hold the planets in place. As shown in the following photo Mars and Mercury will need to painted as they are almost invisible. Painted Mars a reddish brown. It can be seen in the second picture.